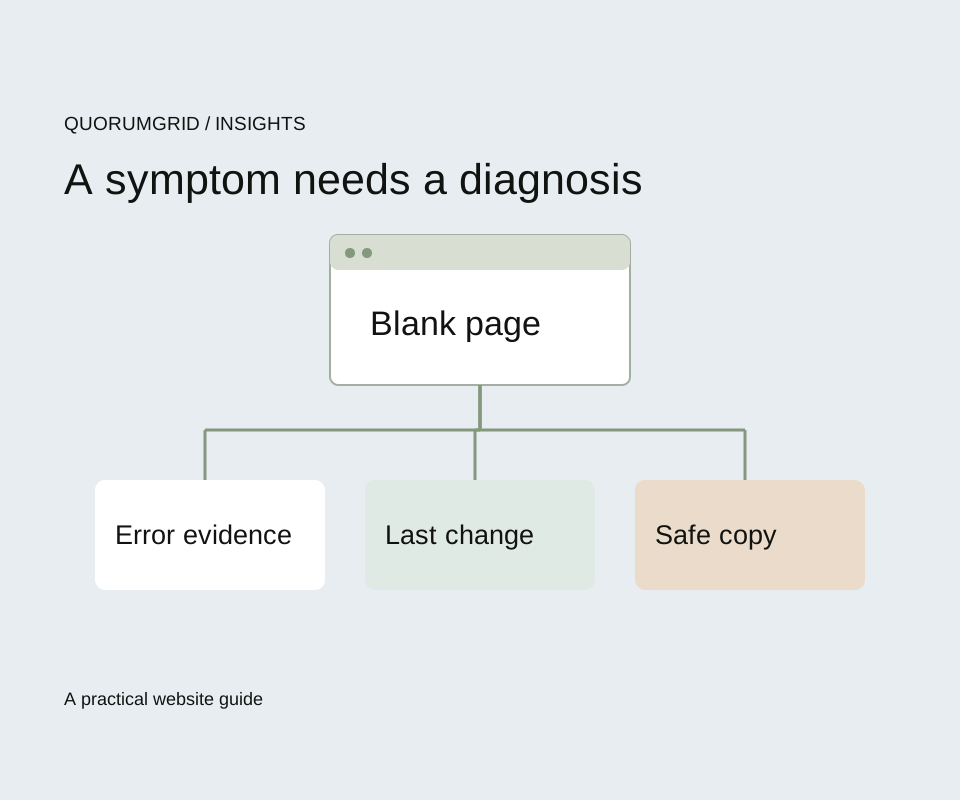
WordPress troubleshooting
How to clear WordPress cache and verify the change
Clearing every cache can hide the original clue. Identify the stale response, change one layer and check the same URL as a normal visitor.

To clear WordPress cache, first confirm the change was published, identify the cache serving the old page and use that tool's supported purge control. Then check the same URL in a fresh visitor session. If you see the update while logged in but a customer still sees the old version, these checks help narrow down the layer involved.
Start with the exact URL and the visible difference. Browser cache, a WordPress cache plugin, hosting cache and a content delivery network are separate layers. Not every website uses all of them, and a failed content save is not a caching problem.
Confirm the content was saved in the right place
Check the page's published state, the URL and the template responsible for the content. If you changed a reusable block, translation or theme option, verify the part actually used by the affected page. A draft preview is not the same as the public page.
WordPress's changes-not-appearing guidance covers browser, server and plugin caches as well as checking the source of the change. Use that distinction before assuming the server ignored a successful save.
Record a small observable difference, such as a corrected heading. Avoid repeatedly changing unrelated settings while testing, because you then lose a clear before-and-after comparison.
Identify the layer before purging it
List the caching systems actually enabled for the website. The host or developer should be able to explain the plugin, server/CDN controls and any separate object cache. The WordPress optimisation handbook gives an overview of caching approaches; exact purge controls depend on the chosen product.
| Layer | Example check | Boundary |
|---|---|---|
| Your browser | Compare a fresh private session or targeted browser reload | Does not clear another visitor's browser |
| Page/plugin cache | Use the installed tool's documented page purge | May not purge the host or CDN |
| Hosting/CDN cache | Inspect the provider controls and affected URL | Separate service and permissions |
| Object/data cache | Investigate the stored data and application behaviour | Not interchangeable with a cached HTML page |
Do not delete arbitrary server directories or database tables because a tutorial calls them cache. Use the documented controls for the actual installation and preserve a rollback route for configuration changes.
Example: one page with WP Rocket already installed
In WordPress, open Pages or Posts, find the affected published item and look for WP Rocket's Clear this cache row action. Its official clearing guide documents this page-specific control. Use it when available, then revisit the same public URL in a fresh session.
If the action is absent, confirm the installed version, permissions and hosting setup. Use the actual host or cache tool's documented control; do not install another plugin just to follow this example. A plugin purge may leave a separate hosting or CDN cache unchanged.
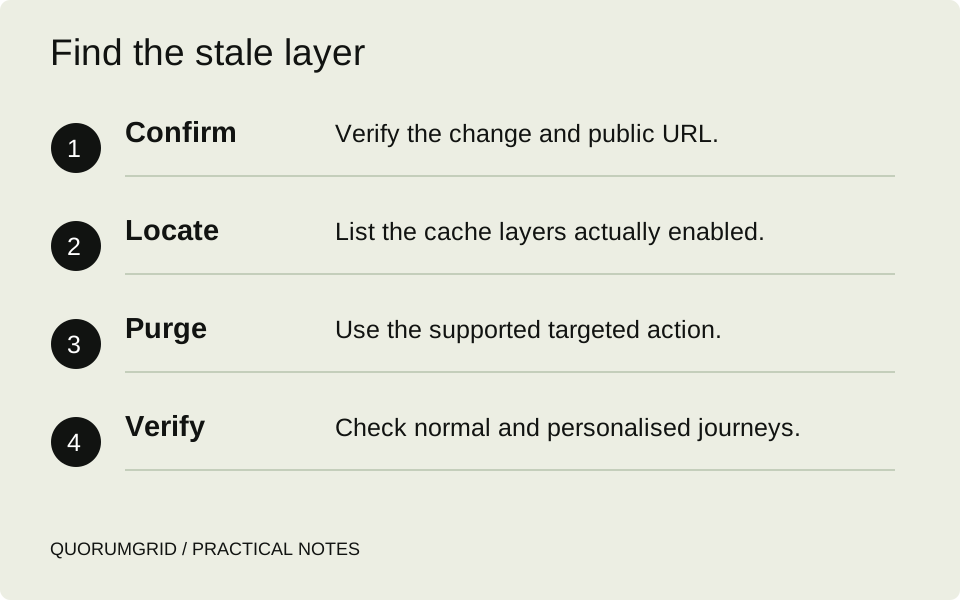
Find the stale layer
- Confirm
Verify the change and public URL.
- Locate
List the cache layers actually enabled.
- Purge
Use the supported targeted action.
- Verify
Check normal and personalised journeys.
Run one controlled stale-page check
Here is an illustrative test sequence. The public service page shows an old opening time, but the editor contains the approved new time. Record the URL and compare it in the normal public session.
- Confirm the correct public page contains the saved change at the application/editor level.
- Use the relevant cache tool's supported purge for that page where available.
- Reload the same URL in a fresh visitor session.
- If it remains stale, investigate the next known layer rather than assuming the purge failed everywhere.
- Record which action changed the response and what still needs checking.
A private browser session helps separate your local browser state; it does not bypass every server or CDN cache. Adding a random query string is also not a universal cache-bypass guarantee. Check the actual cache rules or provider evidence.
Protect carts, checkout and signed-in content
Before changing cache rules, identify routes and responses that contain customer-specific information. A cart, account page or private portal needs the correct exclusion or variation behaviour for the actual application. Do not copy a public-page cache rule across the whole site.
Test with separate controlled sessions and synthetic data on an isolated environment when possible. One user's basket or account details must not be served to another. If that is suspected on a live website, involve the responsible developer/host promptly rather than treating it as an ordinary stale-heading issue.
Keep the test bounded. Do not use real customer accounts, place unapproved orders or share session cookies in a support screenshot. The useful evidence is the response behaviour and configuration, with private details removed.
When purging is only hiding the underlying problem
If the same stale content returns after each deployment, investigate invalidation: what event should replace the cached copy, which layer receives it and whether that connection works. A daily manual purge may be a workaround, not a dependable publishing process.
If the page is blank, errors appear or new content was never saved, return to the actual failure. Clearing cache does not repair incompatible code. Our WordPress recovery guide gives a safer investigation order for a broken page.
Frequent full purges can also change the load pattern by making more requests rebuild uncached responses. Plan broad actions with the host for a busy store rather than repeatedly purging during a traffic spike.
Leave a useful cache note for the team
Record which caches exist, who can manage them and which change should trigger a refresh. Include the normal publishing check and the routes that require special treatment. Keep access details in the business's secure account inventory, not in a public troubleshooting article.
After a configuration correction, repeat the original visitor test and check representative personalised routes. A faster page with the wrong person's content is not a successful optimisation.
For ongoing care, assign the task in the maintenance responsibilities. Editors should know the supported next step when a change does not appear, without needing to guess which server directory to remove.
Sources and further reading
Technical references for this guide. The checklists and examples are our practical recommendations, adapted to the subject.